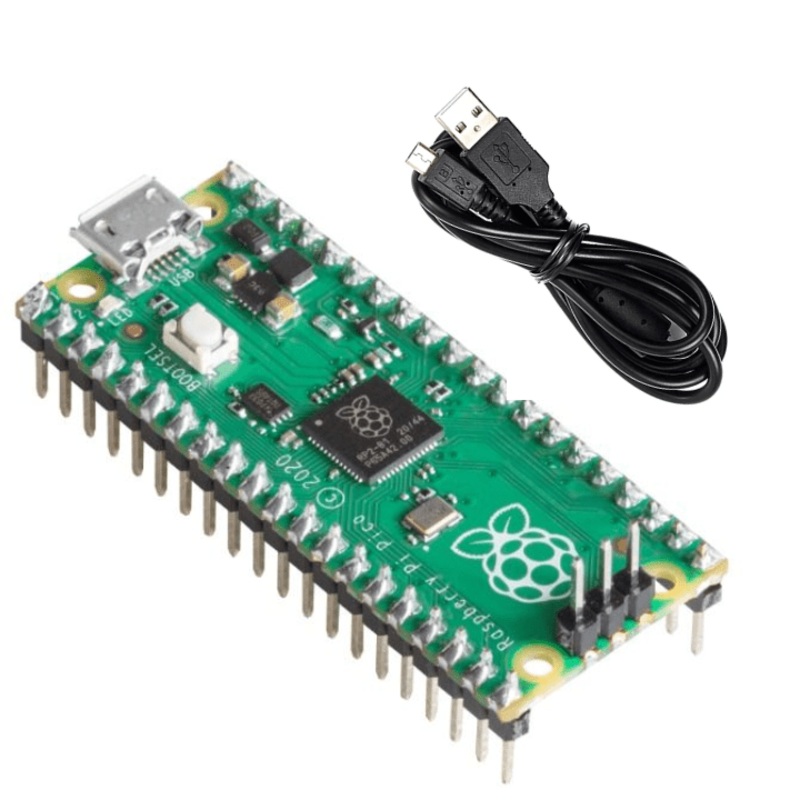
Raspberry Pi Pico Headers and Micro USB Cable
The all-new Raspberry Pi Pico is the latest addition to the Raspberry Pi family of microcontrollers. It is a new flexible microcontroller board that is built on silicon and is designed entirely by Raspberry Pi.
The Raspberry Pi Pico board is integrated with all the features for you to get started with whetheryou choose to use our C/C++ SDK or the official MicroPython port.Raspberry Pi Pico is a low-cost, high-performance microcontroller board with flexible digital interfaces.
The Pico board from Raspberry Pi is built withRP2040 microcontroller chip designed by Raspberry Pi. It has a dual-coreARM Cortex M0+ processor, the flexible clock running up to 133 MHz. This Raspberry Pi features2MB of onboard Flash memory and264KB of SRAM.
There are few handy components those can be helpful while using Raspberry pi pico arebreadboards,power supply,switches,jumper wiresanddisplay modules.
The design of the Raspberry Pi Pico board provides a castellated modulethatallows soldering direct to carrier boards. It is easy to use and has a user-friendly experience with drag & drop programming using mass storage over USB.
Getting Raspberry Pi Picostarted with MicroPython
Program your Raspberry Pi Pico with the easy to use drag and drop feature. All you need to do is simply connect the Raspberry Pi Pico to a computer via USB, then drag and drop the file onto it. Follow the given steps to get the MicroPython started on your Raspberry Pi Pico:
- Download the MicroPython UF2 file.
- Push and hold the BOOTSEL button and plug your Pico into the USB port of your Raspberry Pi or another computer.
- Release the BOOTSEL button after your Pico is connected to your computer.
- It will mount as a Mass Storage Device called RPI-RP2.
- Drag and drop the MicroPython UF2 file onto the RPI-RP2 volume.
- Your Pico will reboot. You are now running MicroPython.
- You canaccess the REPLand MicroPython via USB Serial.
How to blink an LED on Raspberry Pi Pico?
Blinking an LED is the first program anyone writes on a newmicrocontroller.The Raspberry Pi Pico comes with a single LED on-board connected to GPIO pin 25.Follow the given steps to get the LED to blink on your Raspberry Pi Pico:
- Download the Blink UF2
- Push and hold the BOOTSEL button and plug your Pico into the USB port of your Raspberry Pi or another computer.
- It will mount as a Mass Storage Device called RPI-RP2.
- Drag and drop the Blink UF2 binary onto the RPI-RP2 volume.
- Pico will reboot, and the onboard LED should start blinking.
Visit our Raspberry Pi Displays collection page for official Displays.
Note:Robocraze is the authorized sellers of Raspberry Pi products in India. Therefore, even if you are in Bangalore, Hyderabad, Kerala, Mumbai or Pune, you can get Raspberry Pi Pico online from Robocraze at the comfort of your homes.
Reviews
There are no reviews yet.